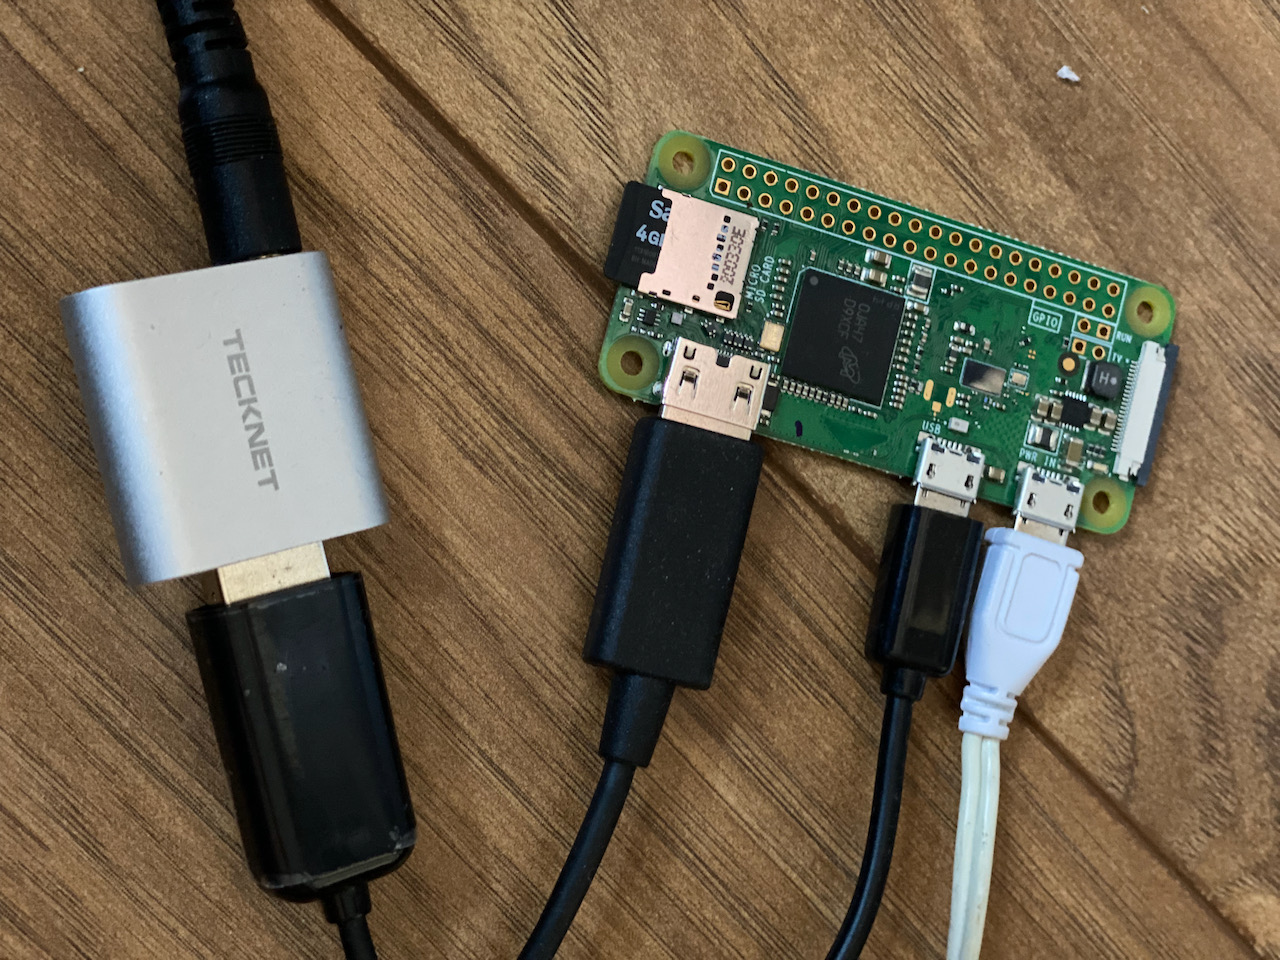
Now singing has returned to churches I need to add an additional microphone to pickup the choir. I’d like this to be completely separate to the Church PA system to avoid playing this sound out through the speakers. A Raspberry PI Zero W with a USB sound card looks to be a good option to capture the audio and stream it to OBS.
Run arecord -l to get a list of available mixer devices. In my case my USB audio device is #2.
Set the mixer level for the microphone:
amixer -c 2 -q set 'Mic',0 100%
Install ffmpeg which pulls down around 750MB on a lite installation.
apt install ffmpeg
Run ffmpeg to create the stream specifying the mixer device name as the input -i
ffmpeg -ar 44100 -ac 1 -f alsa -i plughw:2,0 -f wav -listen 1 tcp://0.0.0.0:5002
You can play this stream using VideoLAN’s VLC using Open Network Stream tcp/wav://192.168.1.104:5002 where 192.168.1.104 is the IP address of the PI.
In OBS create a new Media Source and set the network buffer to zero (to avoid excessive delay) and turn off Restart playback when source becomes active which keeps the stream alive even when it’s not the active scene:
tcp://192.162.1.104:5002
Wrap the ffmpeg command as a service by creating /etc/systemd/system/stream.service containing
[Unit]
Description=auto start stream
After=multi-user.target

[Service]
Type=simple
ExecStartPre=/usr/bin/amixer -c 2 -q set 'Mic',0 100%
ExecStart=/usr/bin/ffmpeg -ar 44100 -ac 1 -f alsa -i plughw:2,0 -f wav -listen 1 tcp://0.0.0.0:5002
User=pi
WorkingDirectory=/home/pi
Restart=always

[Install]
WantedBy=multi-user.target
Enable and start the service as follows:
systemctl enable stream
service stream start
Practical Issues
After successfully testing using a Raspberry PI Zero W using USB audio dongle with WiFi connecting over a distance of 30m in an empty church I decided to use it as a secondary device in live broadcast. This was immediately scuppered on the day as I was unable to maintain the WiFi link. I put this down to the interference created by the in house PA system, induction loop, and the mobile phones of the congregation.
I added a UFL connector the Pi Zero W as described by Briain Dorey. Using this with a 5dB D-Link antenna did marginally increase the antenna signal level and quality of most networks but not sufficiently to make the difference.
Internal antenna
pi@raspberrypi:~ $ sudo iwlist wlan0 scan | grep 'Cell\|Signal' | sed '$!N;s/\n/ /'
          Cell 01 - Address: 6C:xx:xx:xx:xx:10                     Quality=69/70  Signal level=-41 dBm
          Cell 02 - Address: 5C:xx:xx:xx:xx:9E                     Quality=26/70  Signal level=-84 dBm
          Cell 03 - Address: 5E:xx:xx:xx:xx:9F                     Quality=27/70  Signal level=-83 dBm
          Cell 04 - Address: 9C:xx:xx:xx:xx:62                     Quality=35/70  Signal level=-75 dBm
          Cell 05 - Address: 78:xx:xx:xx:xx:8E                     Quality=21/70  Signal level=-89 dBm
          Cell 06 - Address: 9C:xx:xx:xx:xx:72                     Quality=37/70  Signal level=-73 dBm
          Cell 07 - Address: 80:xx:xx:xx:xx:6A                     Quality=17/70  Signal level=-93 dBm
External antenna
pi@raspberrypi:~ $ sudo iwlist wlan0 scan | grep 'Cell\|Signal' | sed '$!N;s/\n/ /'
          Cell 01 - Address: 6C:xx:xx:xx:xx:10                     Quality=70/70  Signal level=-29 dBm
          Cell 02 - Address: 5C:xx:xx:xx:xx:9E                     Quality=22/70  Signal level=-88 dBm
          Cell 03 - Address: 5E:xx:xx:xx:xx:9F                     Quality=23/70  Signal level=-87 dBm
          Cell 04 - Address: 9C:xx:xx:xx:xx:62                     Quality=41/70  Signal level=-69 dBm
          Cell 05 - Address: 78:xx:xx:xx:xx:8E                     Quality=30/70  Signal level=-80 dBm
          Cell 06 - Address: 9C:xx:xx:xx:xx:72                     Quality=41/70  Signal level=-69 dBm
          Cell 07 - Address: 80:xx:xx:xx:xx:6A                     Quality=24/70  Signal level=-86 dBm
Switching to a Raspberry PI 3 gave easy access to an Ethernet port without resorting to a USB hub. Following that there were no further connection issues!
FFMPEG can also create an MP3 stream rather than a WAV stream by simply changing the output format -f mp3
/usr/bin/ffmpeg -ar 44100 -ac 1 -f alsa -i plughw:2,0 -f mp3 -listen 1 tcp://0.0.0.0:5002
The Raspberry PI 3 didn’t really have sufficient processing capacity to keep up with the MP3 encoding. Switch to MP2, -f mp2, reduced the processor requirement significantly with no noticeable change in quality.
