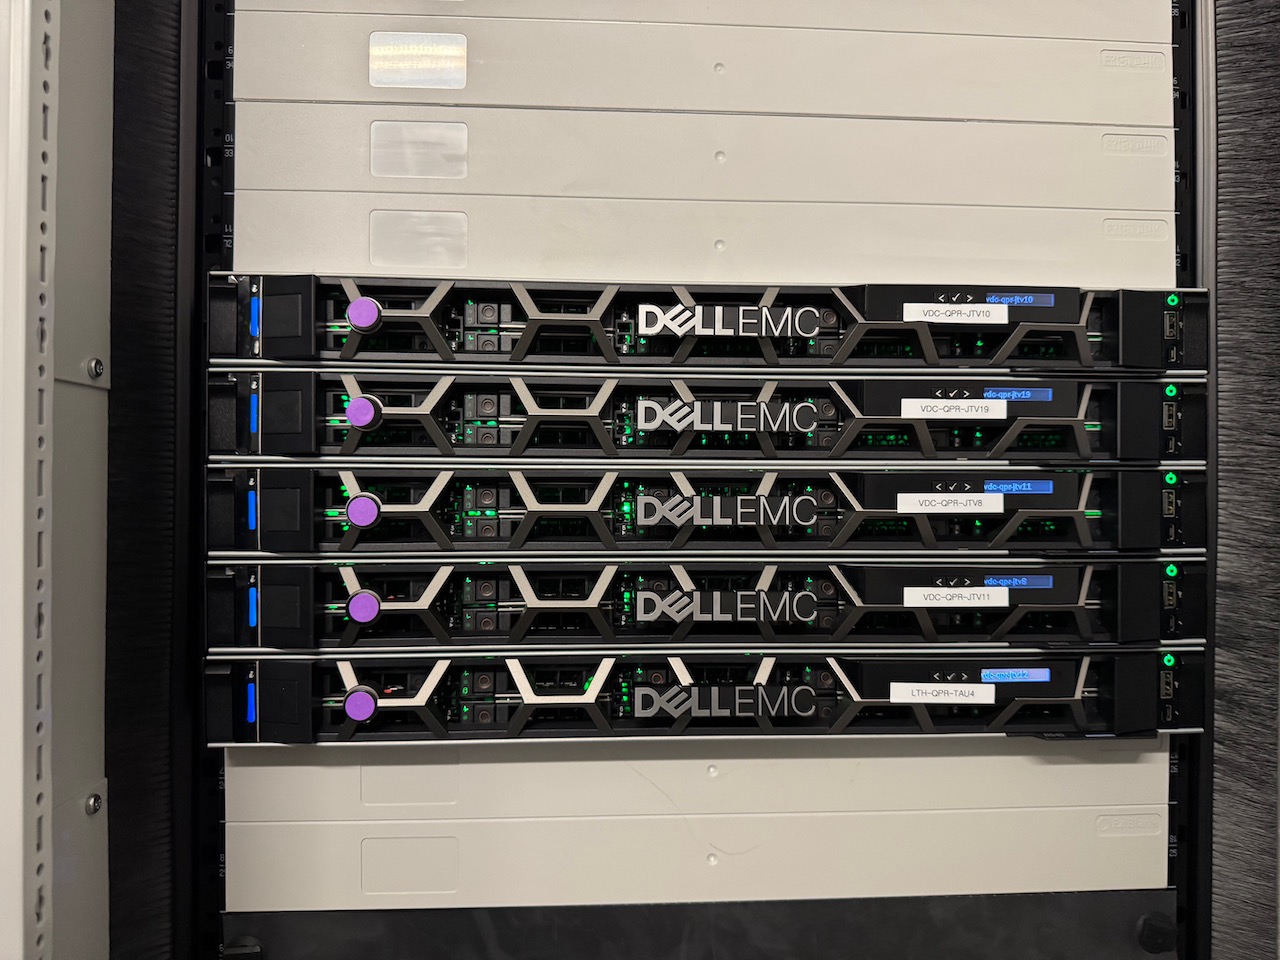
I could have scripted this via Ansible, but there would always be a manual element, such as configuring the H740P controller and booting from the network to get to the point where you can SSH to the machine. Therefore, I decided to just document the steps required.
After powering the system on, press F2 to open setup and follow this path through the menu
Device Configuration > Integrated RAID Controller H740P > Configure > Clear Configuration
then
View Server Profile > Controller Management > Advanced Controller Management > Manage Controller Mode
Choose Switch to Enhanced HBA Controller Mode, then Confirm and reset the system.
Boot to the Ubuntu installer. I used netboot.xyz running in a Docker container.
I will use a software RAID set configured by mdadm for the Ubuntu root drive. In this configuration, the EFI partition needs special attention as EFI does not understand software RAID. GRUB can be configured to create and update multiple copies of the EFI partition. For consistency, I will create an EFI partition on all the drives.
These commands will create the following partitions:
for a in sd{a..j} ; do sgdisk -n1:1M:+512M -t1:EF00 /dev/$a ; done
for a in sd{a..j} ; do sgdisk -n2:0:+16G -t2:FD00 /dev/$a ; done
for a in sd{a..j} ; do sgdisk -n3:0:0 -t3:BF00 /dev/$a ; done
Next, format the EFI drives with a DOS filesystem and create the RAID device:
for a in sd{a..j} ; do mkdosfs -F 32 -s 1 -n EFI /dev/${a}1 ; done
mdadm --create /dev/md0 --metadata=1.2 --level=raid5 --raid-devices=10 /dev/sd[a-j]2
Check the partition tables with sgdisk -p /dev/sda, and the soft RAID setup with cat /proc/mdstat.
Install Ubuntu via the setup program selecting the software RAID as the root volume and the first drive as the boot drive.
After the system reboots, delete the current EFI entries from /etc/fstab:
umount /boot/efi
sed -i '/\/efi/d' /etc/fstab
Then add the entries for /dev/sda1 and /dev/sdb1.
echo /dev/disk/by-uuid/$(blkid -s UUID -o value /dev/sda1) /boot/efi vfat defaults 0 0 >> /etc/fstab
mkdir -p /boot/efi-alt
echo /dev/disk/by-uuid/$(blkid -s UUID -o value /dev/sdb1) /boot/efi-alt vfat defaults 0 0 >> /etc/fstab
systemctl daemon-reload
mount -a
Run dpkg-reconfigure grub-efi-amd64 to configure GRUB. Accept all of the defaults and select /dev/sda1 and /dev/sdb1 as the boot drives. Reboot the system.
After the reboot, install the ZFS utils.
apt install zfsutils-linux
Create a ZFS tank using the by-id values.
zpool create \
          -o ashift=12 \
          -o autotrim=on \
          -O acltype=posixacl -O xattr=sa -O dnodesize=auto \
          -O normalization=formD \
          -O relatime=on \
          tank raidz /dev/disk/by-id/wwn-*-part3
Check it is available:
# zfs list
NAME   USED  AVAIL  REFER  MOUNTPOINT
tank   789K  61.8T   171K  /tank
